OpenSCAD 缩放模型和参数化模型的第一步
缩放部分或整个模型
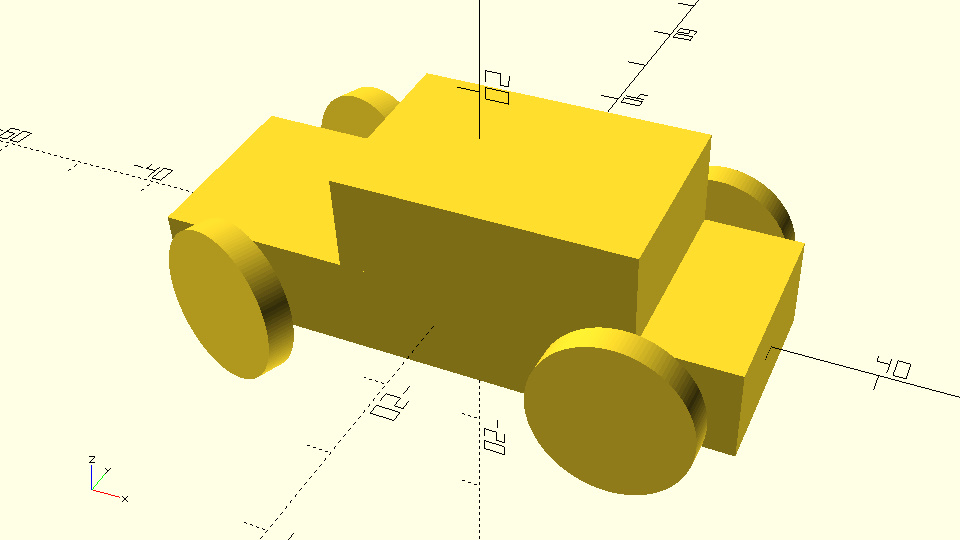
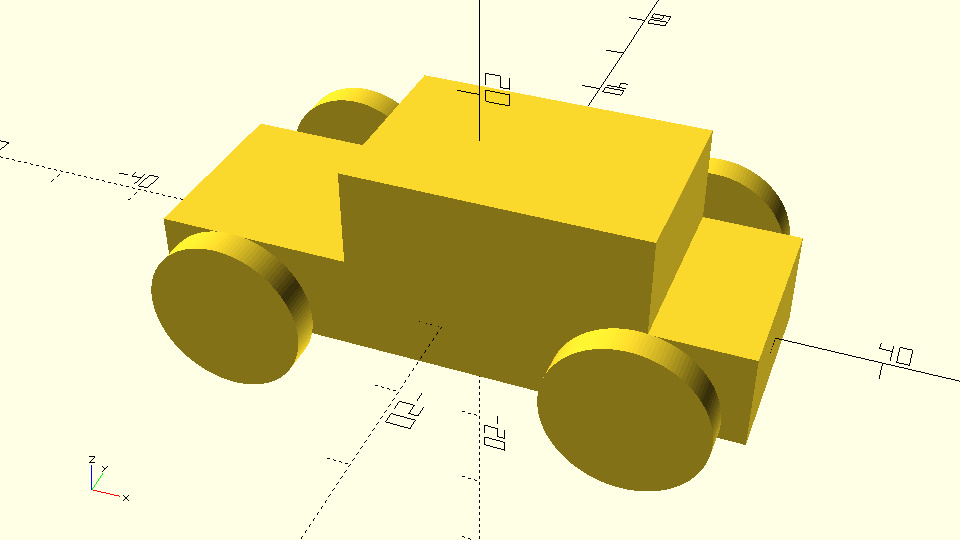
在前一章中创建的模型是使用 OpenSCAD 的一个很好的起点,但也许在看到它之后,你意识到应该改变一些东西。我们将讨论修改设计组件的策略。一种方法是使用 scale 命令,这是另一种转换命令。按以下方式修改创建汽车车身底部的语句,以便将车身长度增加 1.2 倍。
示例
...
// Car body base
scale([1.2,1,1])
cube([60,20,10],center=true);
...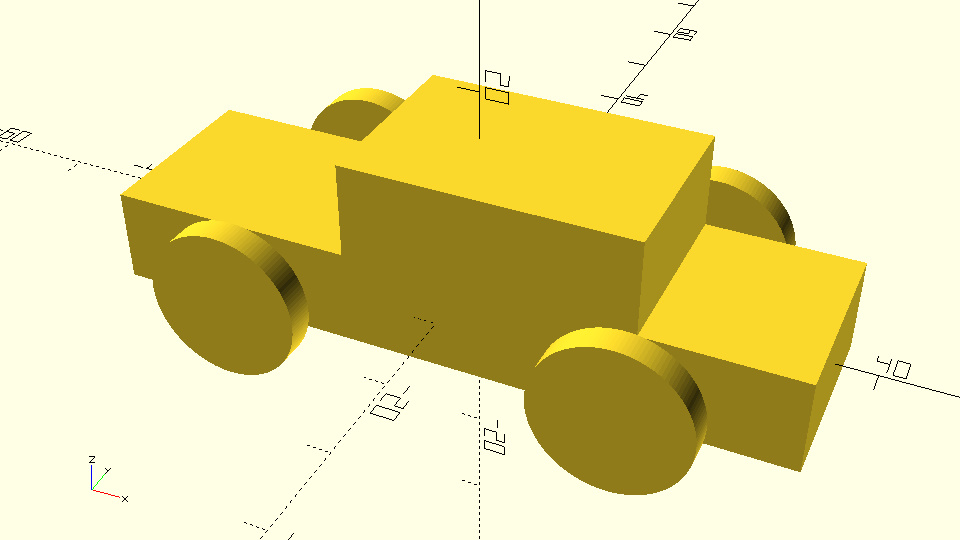 你应该注意到 scale 命令的使用与 transform 和 rotate 命令一样。它被添加到现有语句的左侧,中间不包含分号,并且它具有三个值的向量作为输入参数。类似于平移和旋转命令,每个值对应于沿 X、Y 和 Z 轴的缩放比例。
也可以将相同的缩放命令或任何其他变换命令应用于多个对象。使用以下代码将缩放命令应用于汽车车身的底部和顶部。
示例
scale([1.2,1,1]) {
// Car body base
cube([60,20,10],center=true);
// Car body top
translate([5,0,10 - 0.001])
cube([30,20,10],center=true);
}你应该注意的第一件事是,为了将缩放命令应用于多个对象,需要使用一组大括号。定义相应对象及其分号的语句放在大括号内。花括号的末尾不需要分号。
你应该注意的第二件事是空格和注释的使用如何提高脚本的可读性。以下脚本完全相同,你可以自己决定你宁愿阅读哪一个。
示例
scale([1.2,1,1]) {
cube([60,20,10],center=true);
translate([5,0,10 - 0.001])
cube([30,20,10],center=true);
}
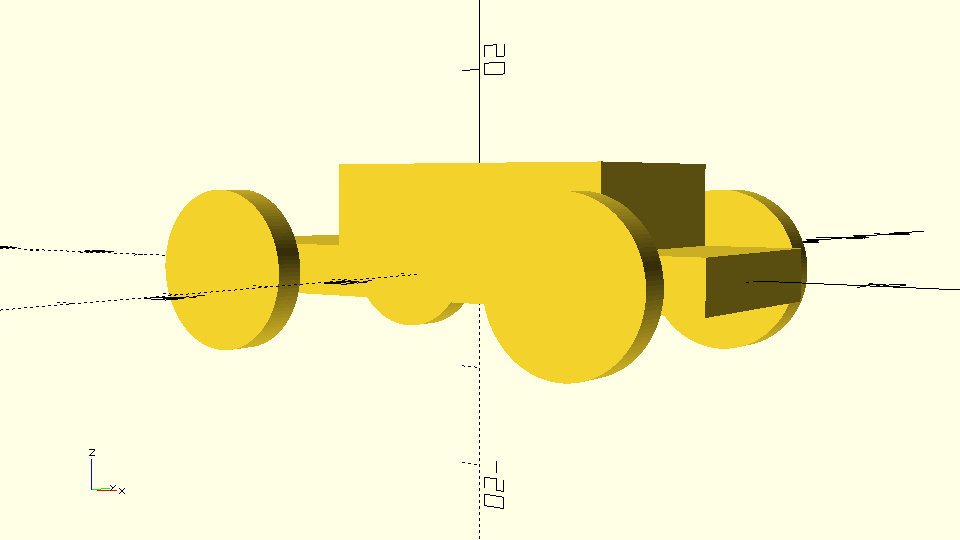
尝试将前轮绕 Z 轴旋转 20 度,就好像汽车在右转一样。为了使你的模型更具说服力,请尝试将车体(底座和顶部)绕 X 轴以与转弯相反的方向旋转 5 度。要转动车轮,修改现有旋转命令的输入参数,转动车身添加新的旋转命令。
示例
$fa = 1;
$fs = 0.4;
rotate([5,0,0]) {
// Car body base
cube([60,20,10],center=true);
// Car body top
translate([5,0,10 - 0.001])
cube([30,20,10],center=true);
}
// Front left wheel
translate([-20,-15,0])
rotate([90,0,-20])
cylinder(h=3,r=8,center=true);
// Front right wheel
translate([-20,15,0])
rotate([90,0,-20])
cylinder(h=3,r=8,center=true);
// Rear left wheel
translate([20,-15,0])
rotate([90,0,0])
cylinder(h=3,r=8,center=true);
// Rear right wheel
translate([20,15,0])
rotate([90,0,0])
cylinder(h=3,r=8,center=true);
// Front axle
translate([-20,0,0])
rotate([90,0,0])
cylinder(h=30,r=2,center=true);
// Rear axle
translate([20,0,0])
rotate([90,0,0])
cylinder(h=30,r=2,center=true);参数化模型的各个部分
你应该已经明白,模型大多数时候并不打算存在于一个版本中。OpenSCAD 脚本语言的强大功能之一在于使你能够轻松地反复重用模型或简单地使用它们,直到你满意地提交最终版本。是时候对你的汽车进行一些修改了!
尝试将轮子的半径更改为 10 个单位。你找到要修改哪些值的难易程度如何?你必须做四次同样的事情吗?
示例
// Front left wheel
translate([-20,-15,0])
rotate([90,0,0])
cylinder(h=3,r=10,center=true);
// Front right wheel
translate([-20,15,0])
rotate([90,0,0])
cylinder(h=3,r=10,center=true);
// Rear left wheel
translate([20,-15,0])
rotate([90,0,0])
cylinder(h=3,r=10,center=true);
// Rear right wheel
translate([20,15,0])
rotate([90,0,0])
cylinder(h=3,r=10,center=true);虽然改变轮子的大小并不难,但它本来可以简单得多。首先,可能更容易找到要更改的值。其次,你只能更改一个值,因为所有轮子的半径相同。所有这些都可以通过使用变量来实现。在以下脚本中,引入了车轮半径的变量。
示例
wheel_radius = 8;设置轮子大小变量,你可以随意修改该值快速改变大小
wheel_radius = 8;
// Front left wheel
translate([-20,-15,0])
rotate([90,0,0])
cylinder(h=3,r=wheel_radius,center=true);
// Front right wheel
translate([-20,15,0])
rotate([90,0,0])
cylinder(h=3,r=wheel_radius,center=true);
// Rear left wheel
translate([20,-15,0])
rotate([90,0,0])
cylinder(h=3,r=wheel_radius,center=true);
// Rear right wheel
translate([20,15,0])
rotate([90,0,0])
cylinder(h=3,r=wheel_radius,center=true);每个变量都有两部分:名称和值。在此示例中,变量名称为“wheel_radius”。有效的变量名称仅使用字母数字字符和下划线(AZ、az、0-9 和 _)。在变量名称之后,等号将名称与值分开,然后是值本身。最后,最后需要一个分号来表示该语句的完成。通过在文档顶部定义变量来保持变量的组织性是一个很好的做法。
一旦定义了变量,就可以在代码中使用它来表示其值。在此示例中,汽缸命令已修改为使用 wheel_radius 变量作为输入参数 r。当 OpenSCAD 评估这个脚本时,它会将输入参数 r 设置为等于 wheel_radius 变量的值。
关于 OpenSCAD 中变量的行为,你应该牢记一件重要的事情。OpenSCAD 中的变量表现得像常量。它们只能保留一个值,在创建模型的过程中会保留该值。那么,如果你在脚本开始时为 wheel_radius 分配一个值,然后在定义两个前轮之后为其分配一个新值,会发生什么情况?与前轮相比,后轮的尺寸会有所不同吗?
示例
尝试在定义前轮之后立即为 wheel_radius 变量分配不同的值。你的车有不同的前后轮尺寸吗?
$fa = 1;
$fs = 0.4;
wheel_radius = 6;
// Car body base
cube([60,20,10],center=true);
// Car body top
translate([5,0,10 - 0.001])
cube([30,20,10],center=true);
// Front left wheel
translate([-20,-15,0])
rotate([90,0,0])
cylinder(h=3,r=wheel_radius,center=true);
// Front right wheel
translate([-20,15,0])
rotate([90,0,0])
cylinder(h=3,r=wheel_radius,center=true);
wheel_radius = 12;
// Rear left wheel
translate([20,-15,0])
rotate([90,0,0])
cylinder(h=3,r=wheel_radius,center=true);
// Rear right wheel
translate([20,15,0])
rotate([90,0,0])
cylinder(h=3,r=wheel_radius,center=true);
// Front axle
translate([-20,0,0])
rotate([90,0,0])
cylinder(h=30,r=2,center=true);
// Rear axle
translate([20,0,0])
rotate([90,0,0])
cylinder(h=30,r=2,center=true);你应该注意到所有轮子的尺寸都相同。如果一个变量存在多个赋值,OpenSCAD 使用最后一个赋值的值。即使是使用此变量并在最后一次赋值之前定义的语句,也将使用最后一次赋值的值。 在这种情况下,OpenSCAD 也会发出警告:WARNING: wheel_radius was assigned on line 3 but was overwritten on line 17
参数化模型的更多部分
你现在可以轻松地使用轮子的大小。如果你能够如此轻松地自定义模型的更多方面,那就太好了。你应该注意到修改轮子的大小不会影响模型的任何其他方面,它不会以任何方式破坏你的模型。这并非总是如此。
示例
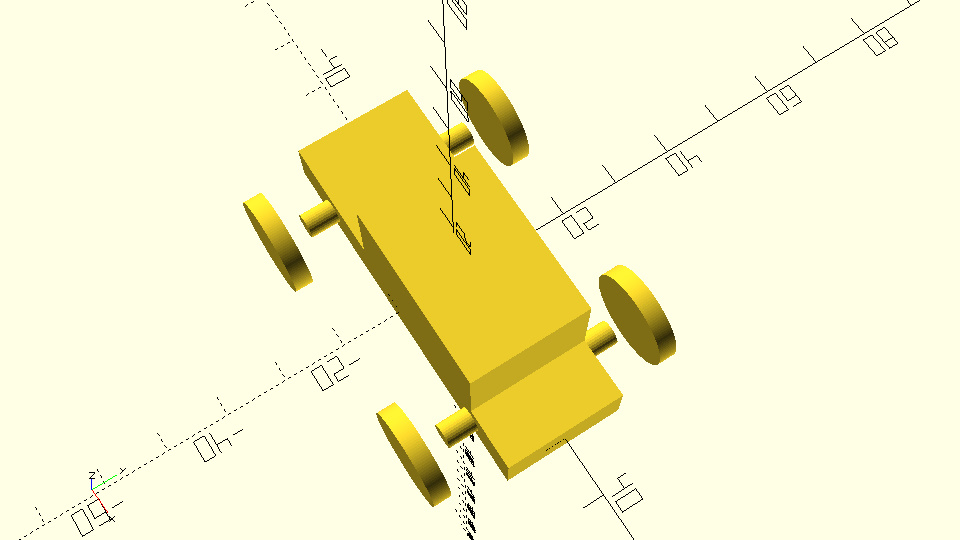
尝试通过定义 base_height 和 top_height 变量来修改汽车车身底部和顶部的高度,并对定义底部和顶部的相应语句进行适当的更改。将值 5 分配给 base_height 变量,将值 8 分配给 top_height 变量。你注意到了什么?
$fa = 1;
$fs = 0.4;
wheel_radius = 6;
// Car body base
cube([60,20,10],center=true);
// Car body top
translate([5,0,10 - 0.001])
cube([30,20,10],center=true);
// Front left wheel
translate([-20,-15,0])
rotate([90,0,0])
cylinder(h=3,r=wheel_radius,center=true);
// Front right wheel
translate([-20,15,0])
rotate([90,0,0])
cylinder(h=3,r=wheel_radius,center=true);
wheel_radius = 12;
// Rear left wheel
translate([20,-15,0])
rotate([90,0,0])
cylinder(h=3,r=wheel_radius,center=true);
// Rear right wheel
translate([20,15,0])
rotate([90,0,0])
cylinder(h=3,r=wheel_radius,center=true);
// Front axle
translate([-20,0,0])
rotate([90,0,0])
cylinder(h=30,r=2,center=true);
// Rear axle
translate([20,0,0])
rotate([90,0,0])
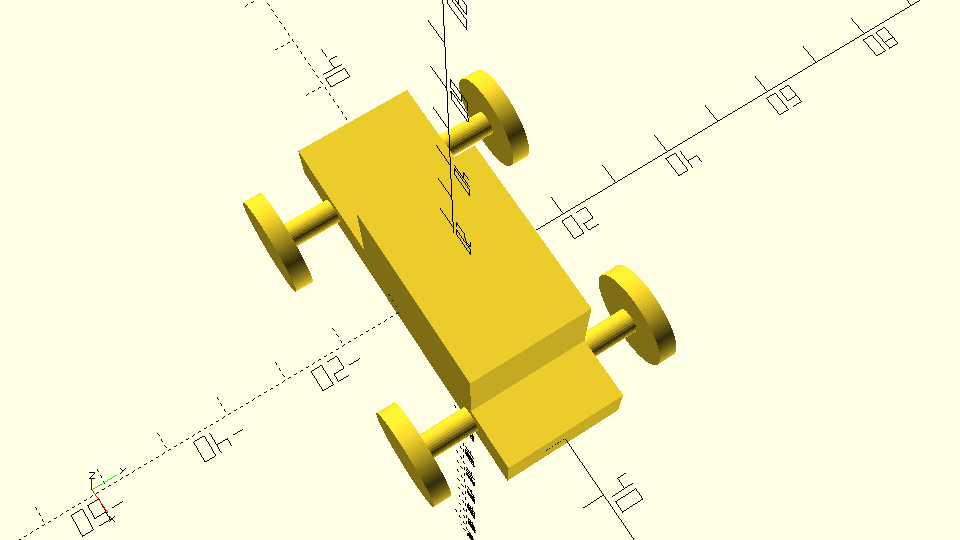
cylinder(h=30,r=2,center=true);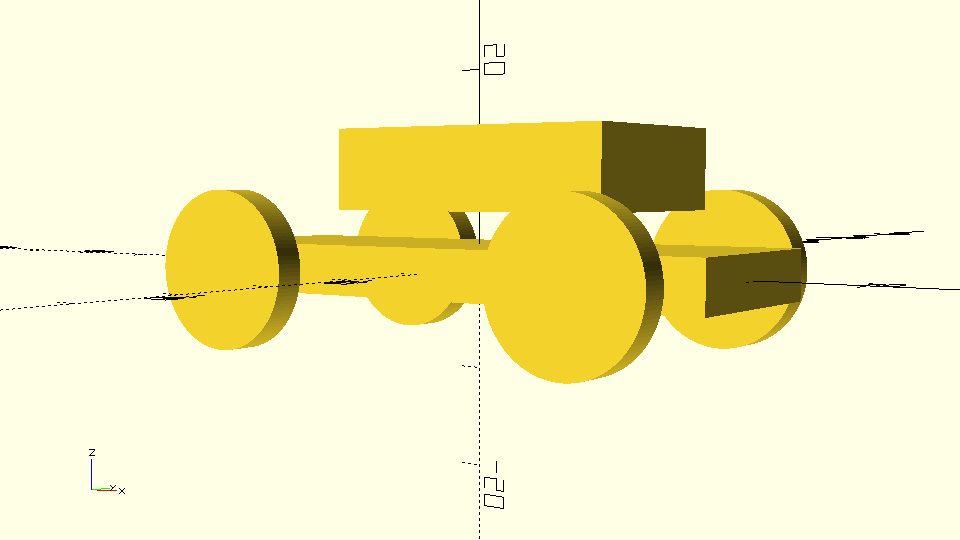 很明显,汽车的车身不再是一体的,因为底座和顶部是分开的。这是因为身体顶部的正确位置取决于身体底部的高度和身体顶部的高度。请记住,为了使顶部位于底座顶部,你必须将顶部沿 Z 轴平移等于底座高度的一半加上顶部高度的一半。如果要参数化底部和顶部的高度,还应该参数化顶部沿 Z 轴的平移。
尝试使用 base_height 和 top_height 变量参数化身体顶部沿 Z 轴的平移,使其位于身体底部的顶部。尝试为 base_height 和 top_height 变量分配不同的值。身体顶部的位置是否保持正确?
示例
base_height = 5;
top_height = 8;
// Car body base
cube([60,20,base_height],center=true);
// Car body top
translate([5,0,10 - 0.001])
cube([30,20,top_height],center=true);你应该记住,每次参数化模型的某些方面时,你还应该参数化其他相关方面,以防止模型崩溃。
尝试使用名为 track 的新变量参数化轨道(车轮的横向距离)。尝试为 track 变量分配不同的值。你注意到了什么?你的模型的任何其他方面是否取决于跟踪变量的值?如果是,请使用 track 变量对其进行参数化,这样你的模型就不会破裂。
示例
track = 40;
// Front left wheel
translate([-20,-track/2,0])
rotate([90,0,0])
cylinder(h=3,r=wheel_radius,center=true);
// Front right wheel
translate([-20,track/2,0])
rotate([90,0,0])
cylinder(h=3,r=wheel_radius,center=true);
// Rear left wheel
translate([20,-track/2,0])
rotate([90,0,0])
cylinder(h=3,r=wheel_radius,center=true);
// Rear right wheel
translate([20,track/2,0])
rotate([90,0,0])
cylinder(h=3,r=wheel_radius,center=true);示例
track = 40;
// Front left wheel
translate([-20,-track/2,0])
rotate([90,0,0])
cylinder(h=3,r=wheel_radius,center=true);
// Front right wheel
translate([-20,track/2,0])
rotate([90,0,0])
cylinder(h=3,r=wheel_radius,center=true);
// Rear left wheel
translate([20,-track/2,0])
rotate([90,0,0])
cylinder(h=3,r=wheel_radius,center=true);
// Rear right wheel
translate([20,track/2,0])
rotate([90,0,0])
cylinder(h=3,r=wheel_radius,center=true);
// Front axle
translate([-20,0,0])
rotate([90,0,0])
cylinder(h=track,r=2,center=true);
// Rear axle
translate([20,0,0])
rotate([90,0,0])
cylinder(h=track,r=2,center=true);以下脚本对应于具有参数化车轮半径、基础高度、顶部高度和轨道的汽车模型。
示例
$fa = 1;
$fs = 0.4;
wheel_radius = 8;
base_height = 10;
top_height = 10;
track = 30;
// Car body base
cube([60,20,base_height],center=true);
// Car body top
translate([5,0,base_height/2+top_height/2 - 0.001])
cube([30,20,top_height],center=true);
// Front left wheel
translate([-20,-track/2,0])
rotate([90,0,0])
cylinder(h=3,r=wheel_radius,center=true);
// Front right wheel
translate([-20,track/2,0])
rotate([90,0,0])
cylinder(h=3,r=wheel_radius,center=true);
// Rear left wheel
translate([20,-track/2,0])
rotate([90,0,0])
cylinder(h=3,r=wheel_radius,center=true);
// Rear right wheel
translate([20,track/2,0])
rotate([90,0,0])
cylinder(h=3,r=wheel_radius,center=true);
// Front axle
translate([-20,0,0])
rotate([90,0,0])
cylinder(h=track,r=2,center=true);
// Rear axle
translate([20,0,0])
rotate([90,0,0])
cylinder(h=track,r=2,center=true);
尝试使用 wheel_width 变量来参数化车轮的宽度,使用 wheel_turn 变量来参数化前轮围绕 Z 轴的旋转,以及使用 body_roll 变量来参数化车身围绕 X 轴的旋转。尝试为 wheel_radius、base_height、top_height、track、wheel_width、wheels_turn 和 body_roll 分配不同的值,以创建你喜欢的汽车版本。
示例
$fa = 1;
$fs = 0.4;
wheel_radius = 10;
base_height = 10;
top_height = 14;
track = 40;
wheel_width = 10;
body_roll = -5;
wheels_turn = 20;
rotate([body_roll,0,0]) {
// Car body base
cube([60,20,base_height],center=true);
// Car body top
translate([5,0,base_height/2+top_height/2 - 0.001])
cube([30,20,top_height],center=true);
}
// Front left wheel
translate([-20,-track/2,0])
rotate([90,0,wheels_turn])
cylinder(h=wheel_width,r=wheel_radius,center=true);
// Front right wheel
translate([-20,track/2,0])
rotate([90,0,wheels_turn])
cylinder(h=wheel_width,r=wheel_radius,center=true);
// Rear left wheel
translate([20,-track/2,0])
rotate([90,0,0])
cylinder(h=wheel_width,r=wheel_radius,center=true);
// Rear right wheel
translate([20,track/2,0])
rotate([90,0,0])
cylinder(h=wheel_width,r=wheel_radius,center=true);
// Front axle
translate([-20,0,0])
rotate([90,0,0])
cylinder(h=track,r=2,center=true);
// Rear axle
translate([20,0,0])
rotate([90,0,0])
cylinder(h=track,r=2,center=true);
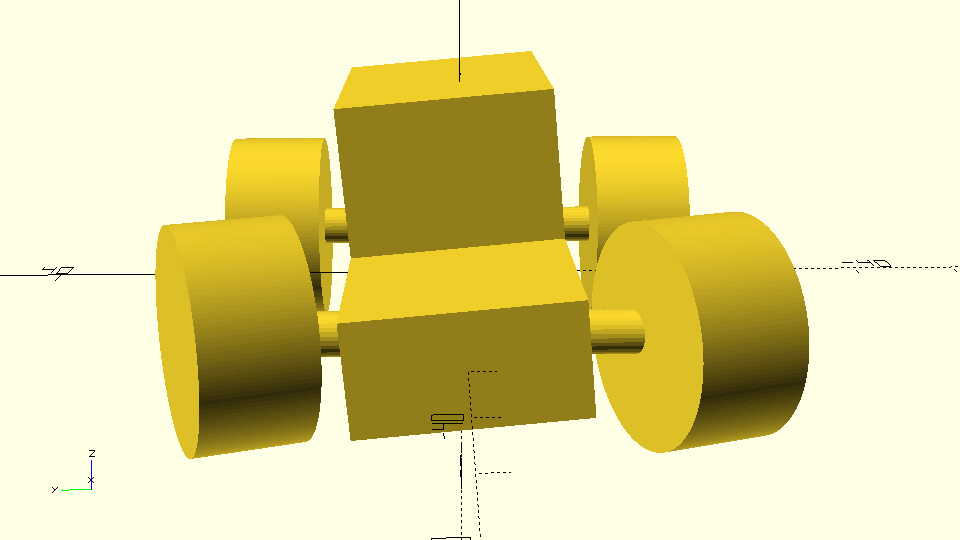 到目前为止,你应该清楚,参数化模型可以释放重用、自定义和迭代设计的力量,以及轻松探索不同可能性的力量。[1]
